Have you ever thought about growing Nopal from seeds? If you’re considering it, you’re in for a unique and rewarding gardening adventure. Nopal, also known as prickly pear, is a resilient plant that offers a plethora of benefits, ranging from its nutrient-rich pads to the versatile fruit it produces. This guide will walk you through every step you need to know to successfully grow Nopal from seeds. Whether you’re a seasoned gardener or a complete newbie, you’ll find this process both exciting and fulfilling.
What is Nopal?
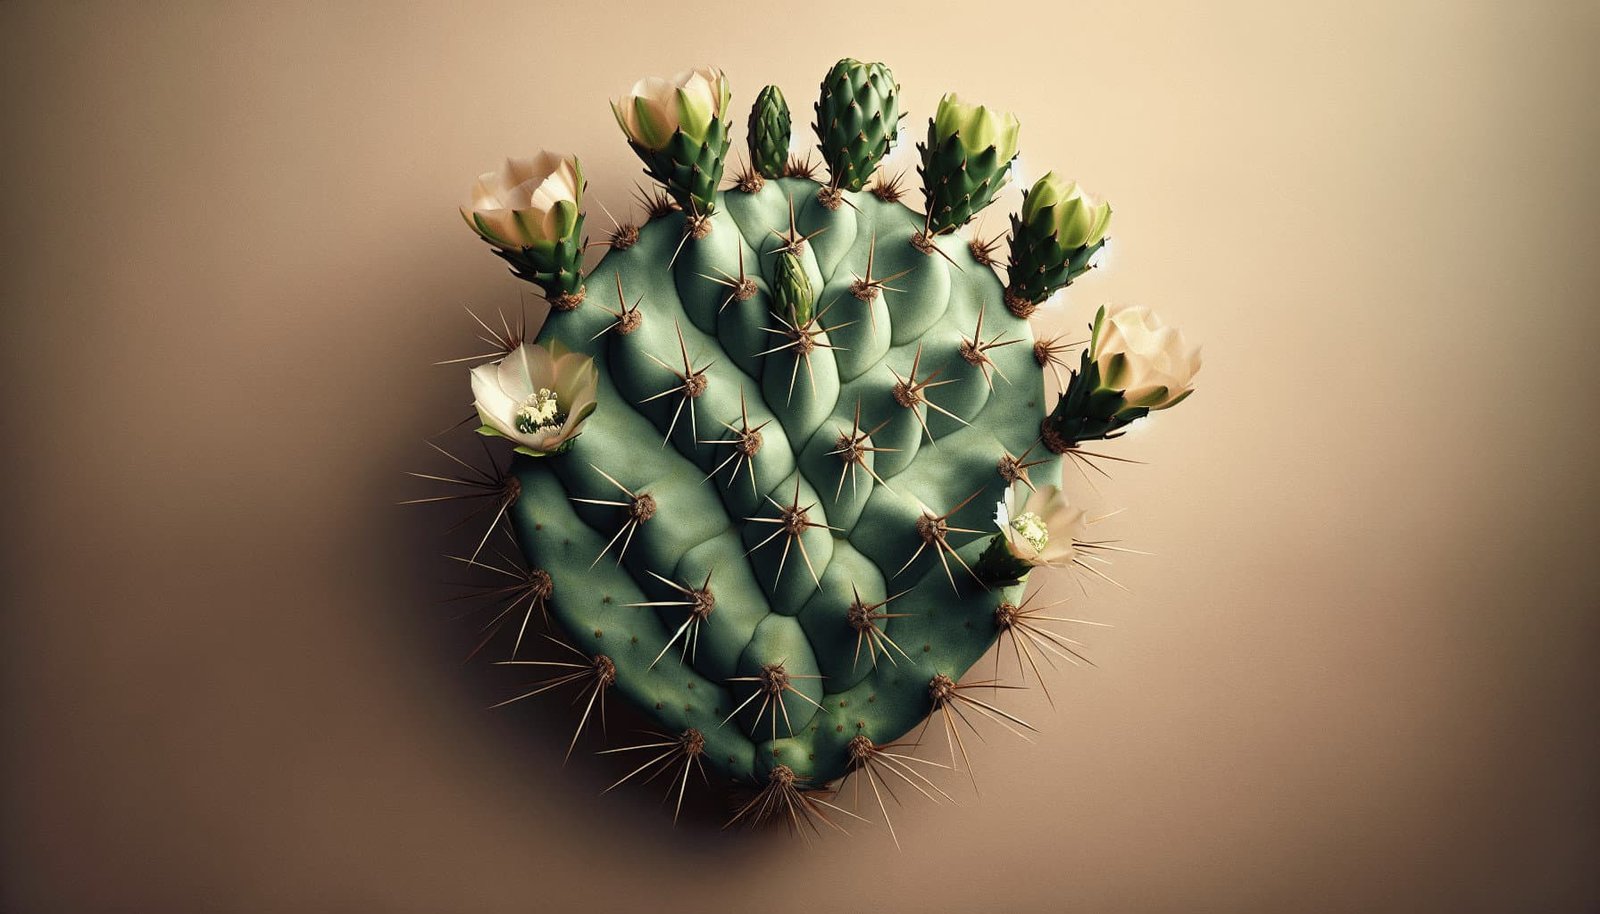
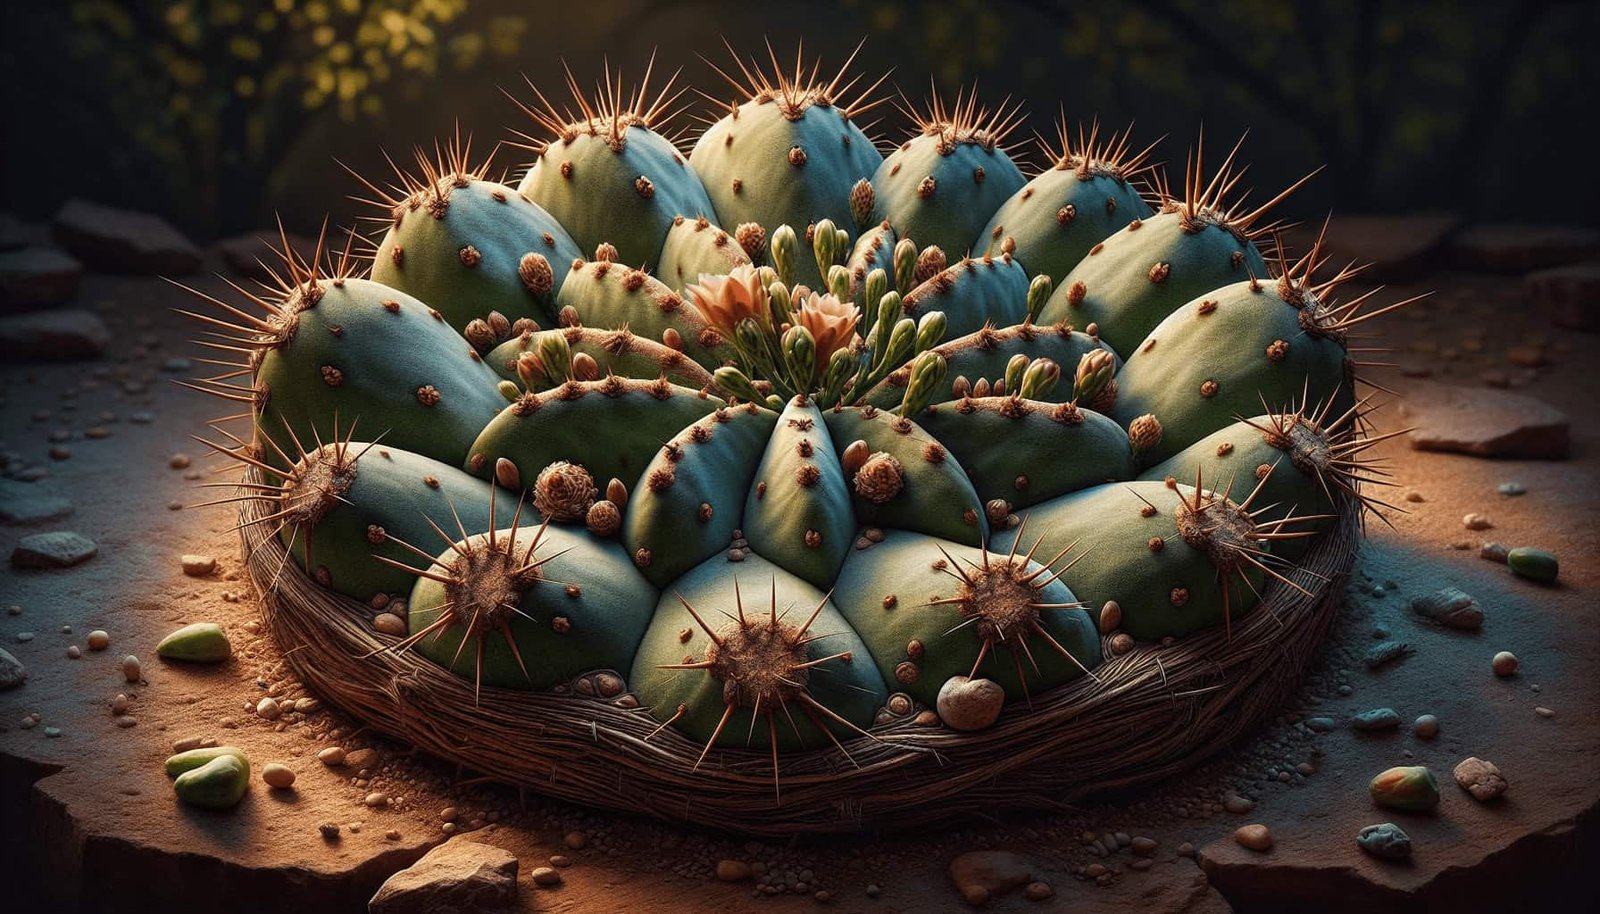
Nopal (Opuntia ficus-indica), known commonly as prickly pear cactus, is a type of cactus found predominantly in the arid and semi-arid regions of the Americas. Besides the fruit it bears, you can use the pads in various culinary dishes. This plant is not just beautiful and functional; it’s also an excellent addition to a sustainable garden due to its hardy nature and low maintenance needs.
Benefits of Growing Nopal
Before getting into the nitty-gritty of growing Nopal from seeds, it’s good to understand its benefits. From health perks to environmental advantages, Nopal offers a lot:
Nutritional Value
Nopal pads and fruits are rich in essential nutrients like vitamins A, C, and K, along with calcium, magnesium, and dietary fiber. They are also low in calories, making them an excellent addition to a balanced diet.
Medicinal Uses
Traditionally, Nopal has been used in folk medicine to treat various conditions, including inflammation, diabetes, and digestive issues. Modern science also supports some of these uses, especially its ability to regulate blood sugar levels.
Soil Conservation
Nopal’s extensive root system helps in controlling soil erosion, making it a great plant for soil conservation projects. Its hardy nature allows it to thrive in poor soils where many other plants would struggle.
Low Water Requirement
One of the primary benefits of Nopal is its minimal water requirement. It is well-suited to arid climates and can survive prolonged periods of drought.
Preparing to Grow Nopal From Seeds
Before planting your Nopal seeds, there are several factors you need to consider to ensure the best possible growth conditions.
Choosing the Right Seeds
When selecting seeds, make sure they are of high quality and sourced from reputable suppliers. Look for seeds that are plump and free from any visible damage.
| Quality Indicator | Description |
|---|---|
| Color | Deep, uniform color |
| Size | Consistent in size |
| Appearance | No signs of mold or fungus |
Ideal Soil Conditions
Nopal grows best in well-draining soil. Sandy or loamy soil is ideal, although it can tolerate a range of soil types. The soil pH should be slightly acidic to neutral, ranging from 6.0 to 7.5.
| Soil Type | Suitability |
|---|---|
| Sandy | Excellent |
| Loamy | Good |
| Clay | Moderate |
| Rocky | Poor |
Temperature and Light Requirements
Nopal thrives in warm temperatures, ideally between 70°F to 100°F (21°C to 38°C). It requires full sunlight to grow optimally, so choose a location that receives at least 6-8 hours of direct sunlight daily.
Planting Nopal Seeds
You’ve gathered your seeds and prepared your soil. Now, it’s time to plant those Nopal seeds. Here’s how you can go about it:
Scarifying the Seeds
Nopal seeds have a tough outer shell. Scarifying, or gently rubbing the seeds with sandpaper, will help to break this shell and improve germination rates.
- Take a piece of fine-grit sandpaper.
- Gently rub each seed for about 15-20 seconds.
- Rinse the seeds in water to remove any debris.
Sowing the Seeds
Once you’ve scarified your seeds, it’s time to plant them.
- Fill your seed tray or small pots with well-draining soil.
- Lightly moisten the soil.
- Place each seed about 1/4 inch deep into the soil.
- Cover the seed lightly with soil and mist with water.
Initial Care
Keep the soil consistently moist but not waterlogged. Cover the seed tray with a plastic cover or place it in a humidifying chamber to maintain a high humidity level. Position the tray in a warm, sunny spot or under grow lights if you’re planting indoors.
Germination Process
Patience is key when it comes to Nopal seed germination. It can take anywhere from 3 weeks to several months for the seeds to sprout.
Monitor Moisture Levels
Keep an eye on the soil moisture. It should remain damp but not overly wet to avoid fungal issues. If the soil starts to dry out, use a spray bottle to mist it gently.
Temperature Control
Ensure that the seeds remain in a warm environment. If you’re growing them indoors, consider using a heat mat to maintain a consistent temperature around 75°F (24°C).
Germination Indicators
You’ll know the seeds have germinated when you see tiny sprouts pushing their way through the soil. At this point, you can remove the plastic cover or transition them out of the humidifying chamber.
Transplanting Seedlings
Transplanting is a crucial step that needs to be done carefully to avoid root damage.
When to Transplant
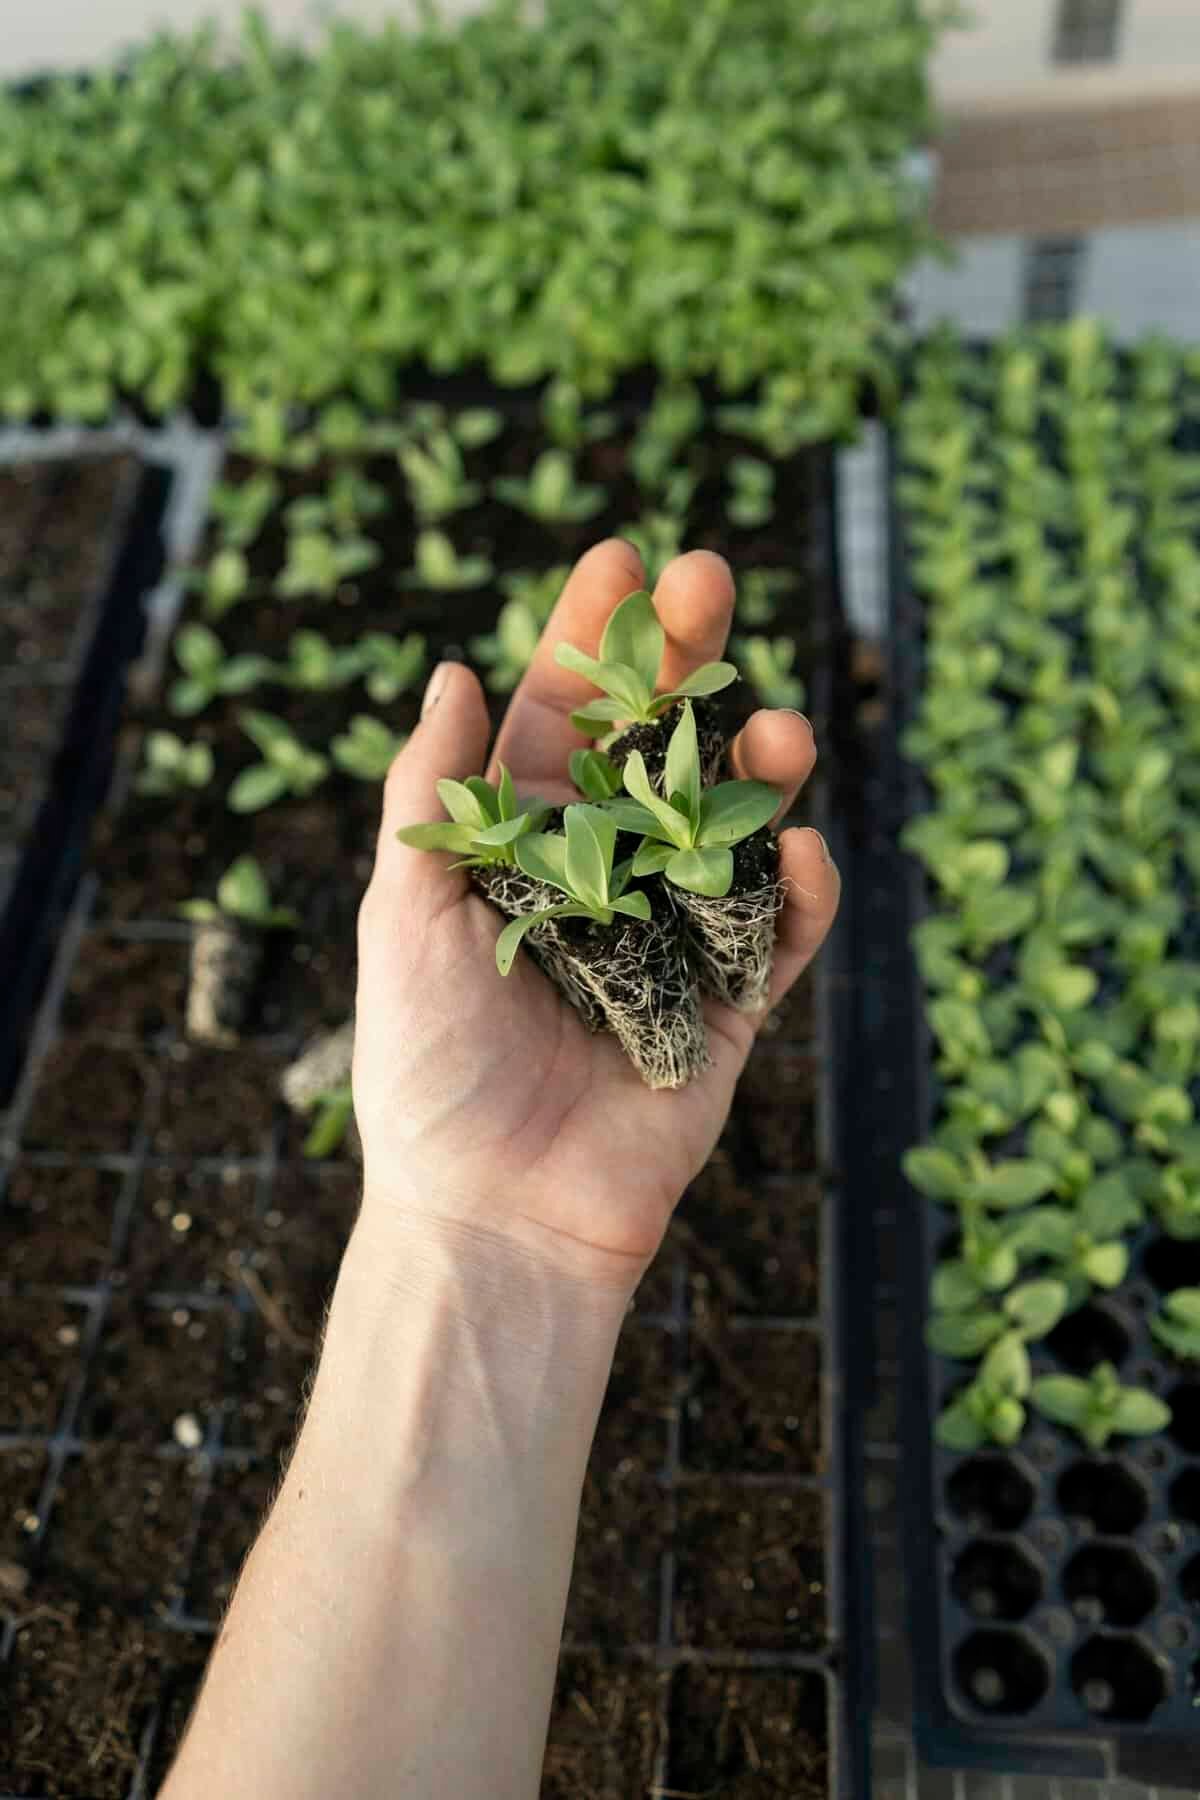
When the seedlings are about 2-3 inches tall and have developed a few sets of true leaves, they are ready for transplanting.
Preparing the Planting Site
Prepare your outdoor planting site by tilling the soil and adding organic matter, such as compost, to improve soil fertility. Ensure it’s a well-draining area to prevent waterlogging, which can harm the plants.
Transplanting Steps
- Dig holes that are slightly larger than the root ball of your seedlings.
- Gently remove each seedling from its tray or pot, being careful not to damage the roots.
- Place each seedling in a hole, covering the roots completely with soil.
- Water thoroughly to help settle the soil around the roots.
Spacing
Space the seedlings about 12-18 inches apart to allow adequate room for growth. If planting in rows, keep each row about 3 feet apart.
Caring for Nopal Plants
Now that your seedlings are in the ground, ongoing care is essential to ensure they grow healthy and strong.
Watering
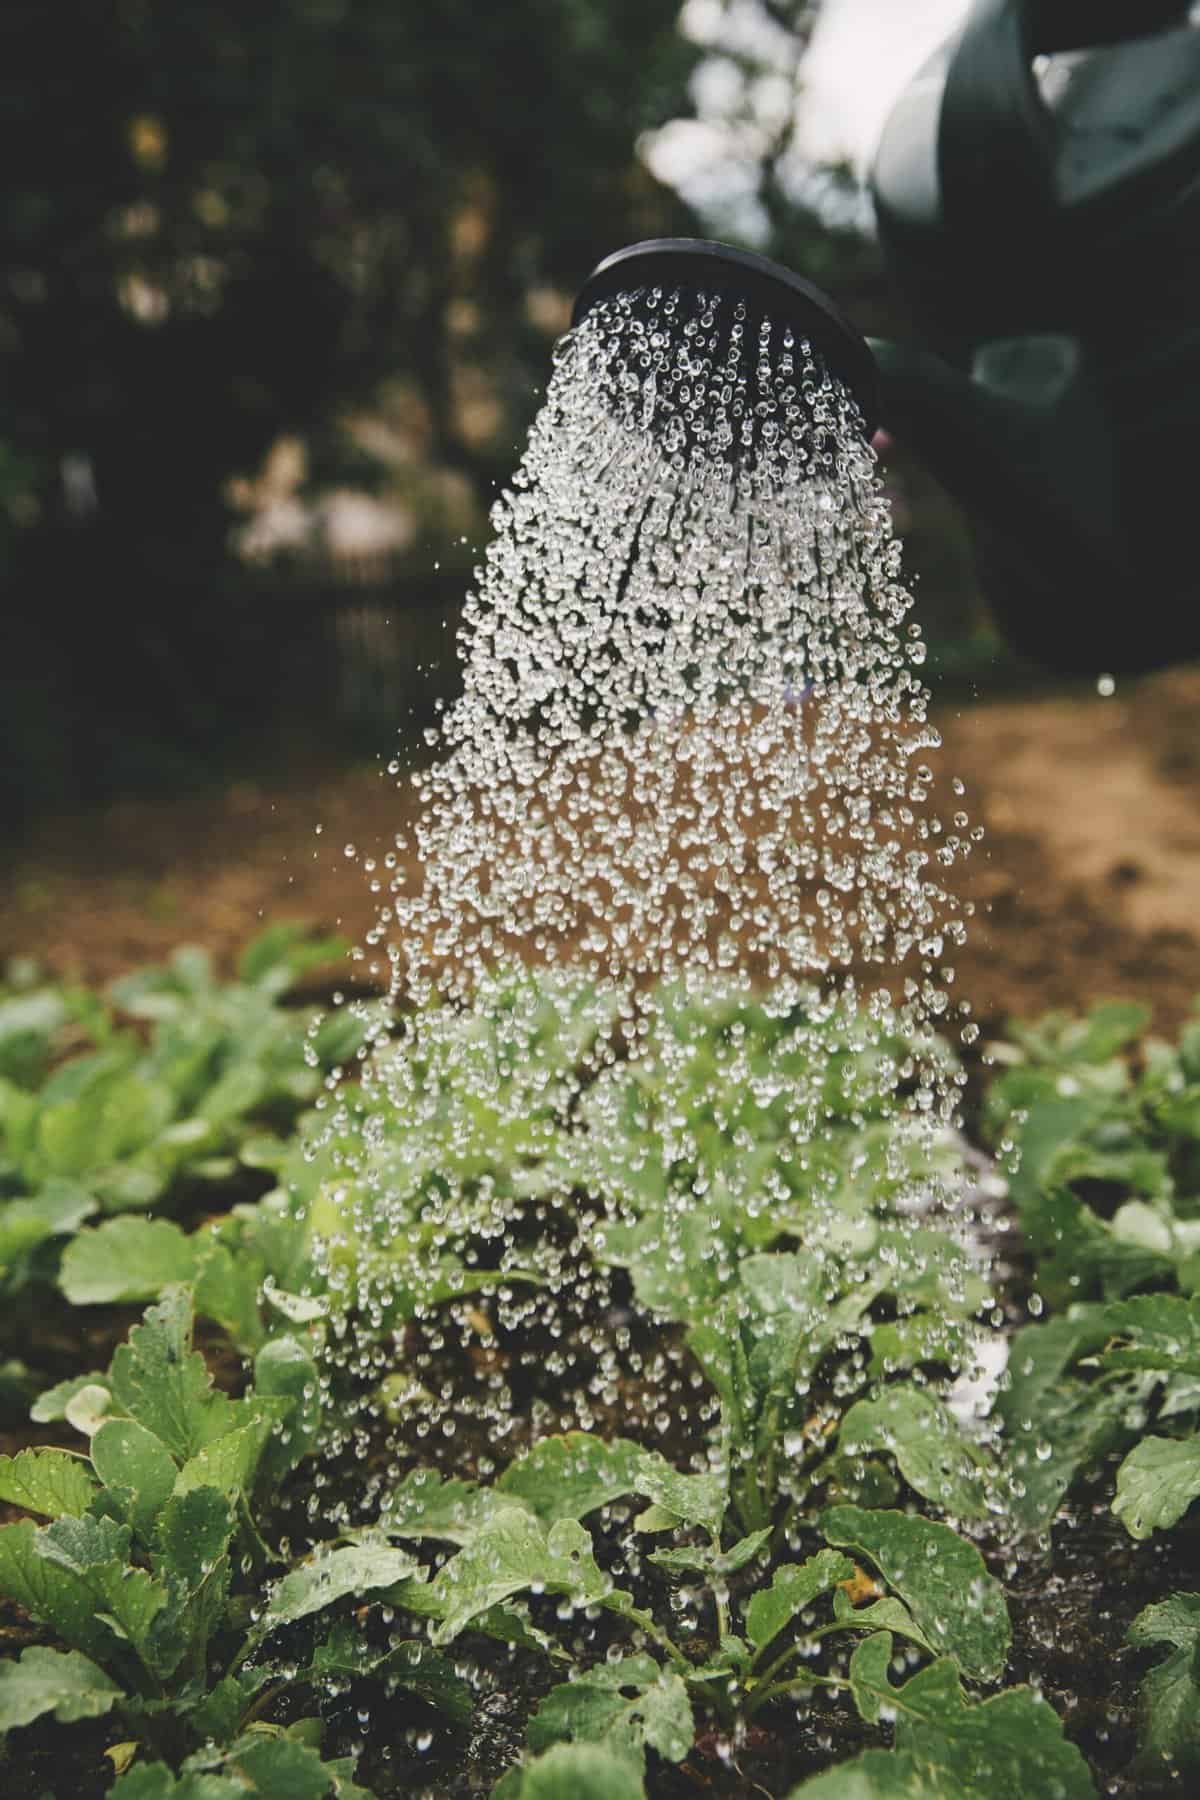
Nopal is drought-resistant but will need regular watering until established. Water the plants deeply every 2-3 weeks. Once established, they can survive on rainwater alone in most climates.
Mulching
Apply a layer of mulch around the base of the plants to help retain moisture and suppress weeds. Organic mulches like straw or wood chips are excellent choices.
Fertilizing
Nopal plants generally don’t require much fertilizer. However, applying a balanced, slow-release fertilizer in the spring can help promote vigorous growth.
| Fertilizer Type | Application Frequency |
|---|---|
| Balanced Slow-Release | Once in Spring |
| Organic Compost | As needed |
Pruning
Regular pruning helps in encouraging new growth and maintaining a manageable shape. Remove any dead or damaged pads, and thin out excessive growth to allow more sunlight and air circulation.
Common Issues and Solutions
Every gardener faces some challenges. Here are a few common issues you might encounter while growing Nopal and how to address them.
Pest Control
Nopal plants can be susceptible to certain pests like scale insects and cactus bugs.
- Scale Insects: These appear as small, round, brown pests on the pads. Use neem oil or insecticidal soap to control them.
- Cactus Bugs: Typically found in clusters, these insects can cause significant damage. Handpicking or using organic insecticides can effectively manage them.
Disease Management
Fungal infections like anthracnose can affect Nopal. To prevent disease, avoid overhead watering and ensure good air circulation around the plants. If you notice signs of fungal infection, treat with a fungicidal spray.
Environmental Stress
Extreme temperatures and poor soil conditions can stress your Nopal plants. Maintain optimal growing conditions and use shade cloths to protect from severe heat if necessary.
Harvesting Nopal
Now comes the most rewarding part: harvesting your Nopal. Both the pads and the fruits can be harvested, each requiring different methods.
Harvesting Nopal Pads
You can start harvesting the pads when they are about 6-8 inches long.
- Use a sharp knife or pruning shears.
- Cut the pads at the base where they attach to the main plant.
- Wear gloves to protect from the spines.
Harvesting Prickly Pear Fruit
The fruits, known as tunas, typically ripen late summer to early fall.
- Look for fruits that are fully colored and slightly soft to the touch.
- Twist or cut the fruit off the pad.
- Handle with care to avoid the tiny spines on the fruit skin.
Post-Harvest Care
Properly handling your harvest ensures maximum enjoyment and longevity.
Cleaning Nopal Pads
Wash the pads to remove any dust or pests. You can also peel the outer layer to remove the spines before cooking.
Storing Prickly Pear Fruit
Store the fruit in the refrigerator where it can last for up to two weeks. For longer storage, consider making jams or jellies.
Culinary Uses for Nopal
Nopal pads and fruit offer a unique addition to various dishes.
Nopal Pads
Nopal pads can be grilled, boiled, or sautéed. They are often used in salads, tacos, and scrambled eggs. Their slightly tart flavor adds a unique twist to any dish.
Prickly Pear Fruit
The fruit can be eaten fresh, juiced, or used in desserts. It makes excellent jams, jellies, and even beverages like prickly pear margaritas.
Final Tips for Growing Nopal
Embrace the experience of growing Nopal by paying attention to these additional tips:
- Patience: Growing Nopal from seeds is a slow process, but your patience will be rewarded.
- Monitoring: Keep an eye on your plants’ health and attend to any issues promptly.
- Enjoyment: Finally, take joy in the process. Gardening is a journey, and every step is an opportunity to learn and grow.
By following these detailed steps and caring for your plants diligently, you’ll successfully enjoy the many benefits of growing Nopal. Good luck on your gardening journey!

