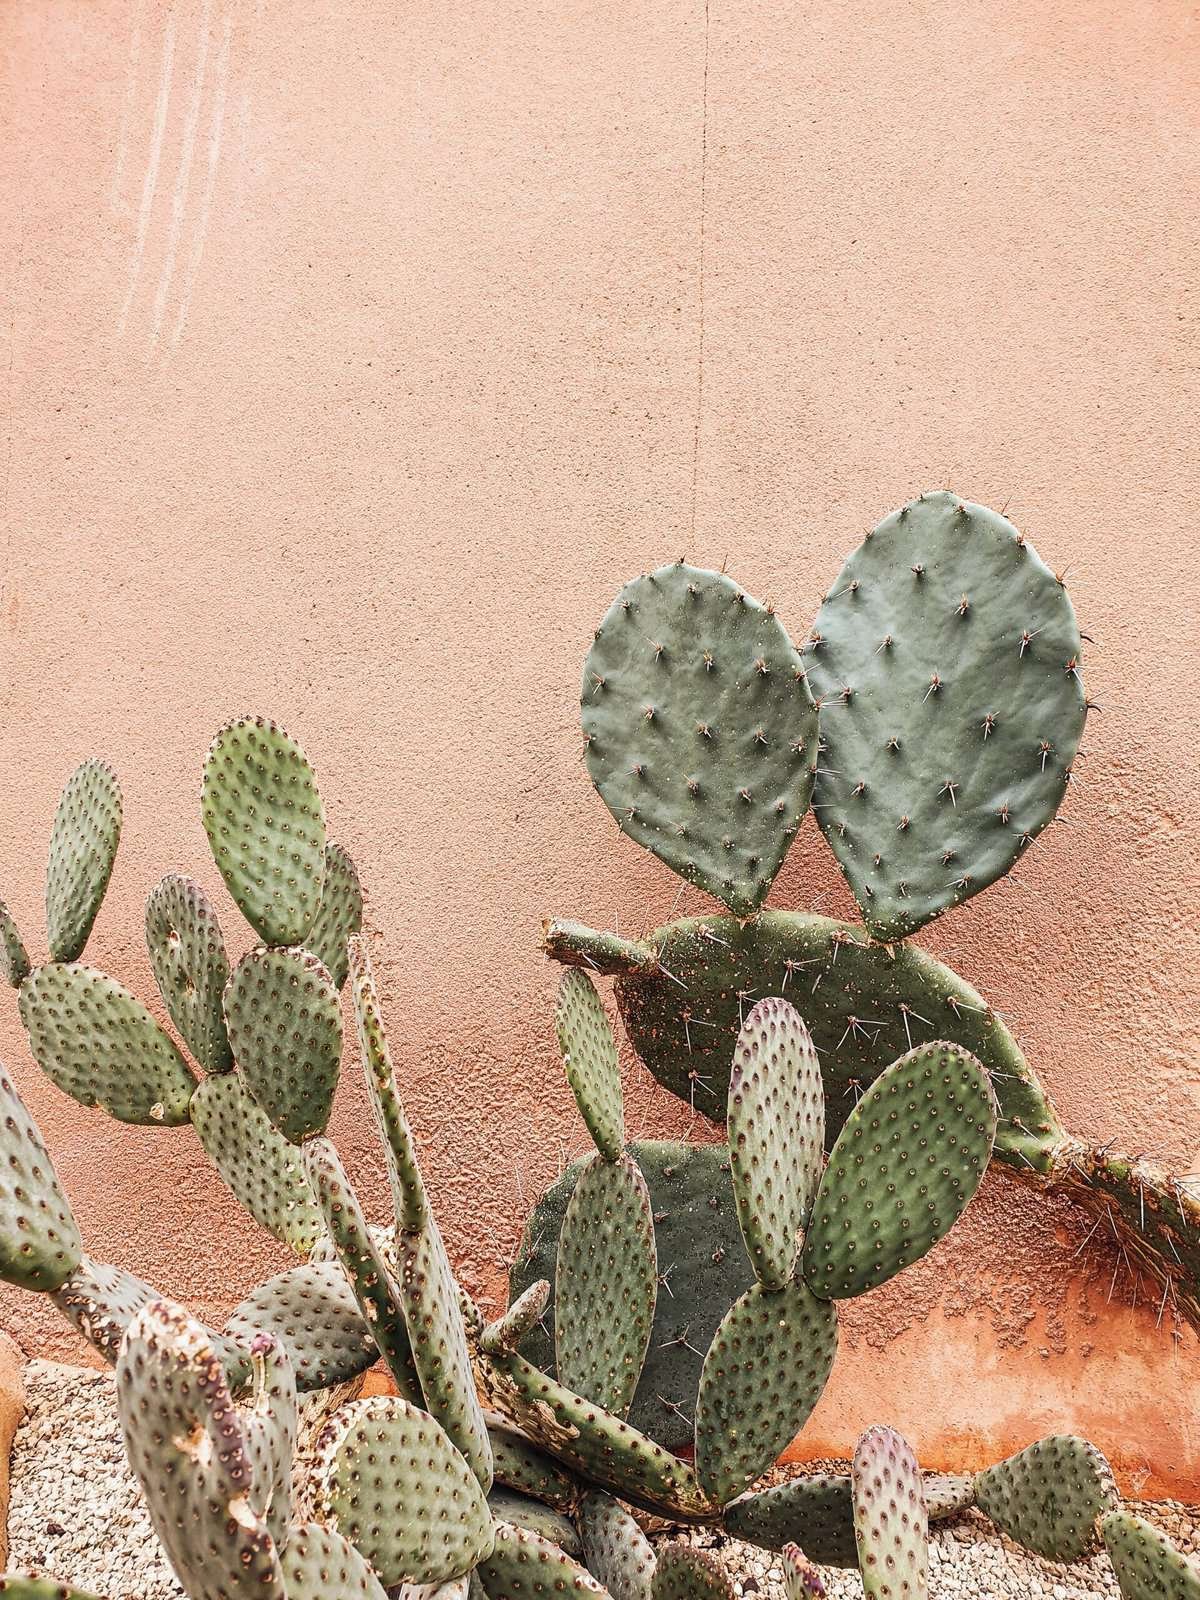
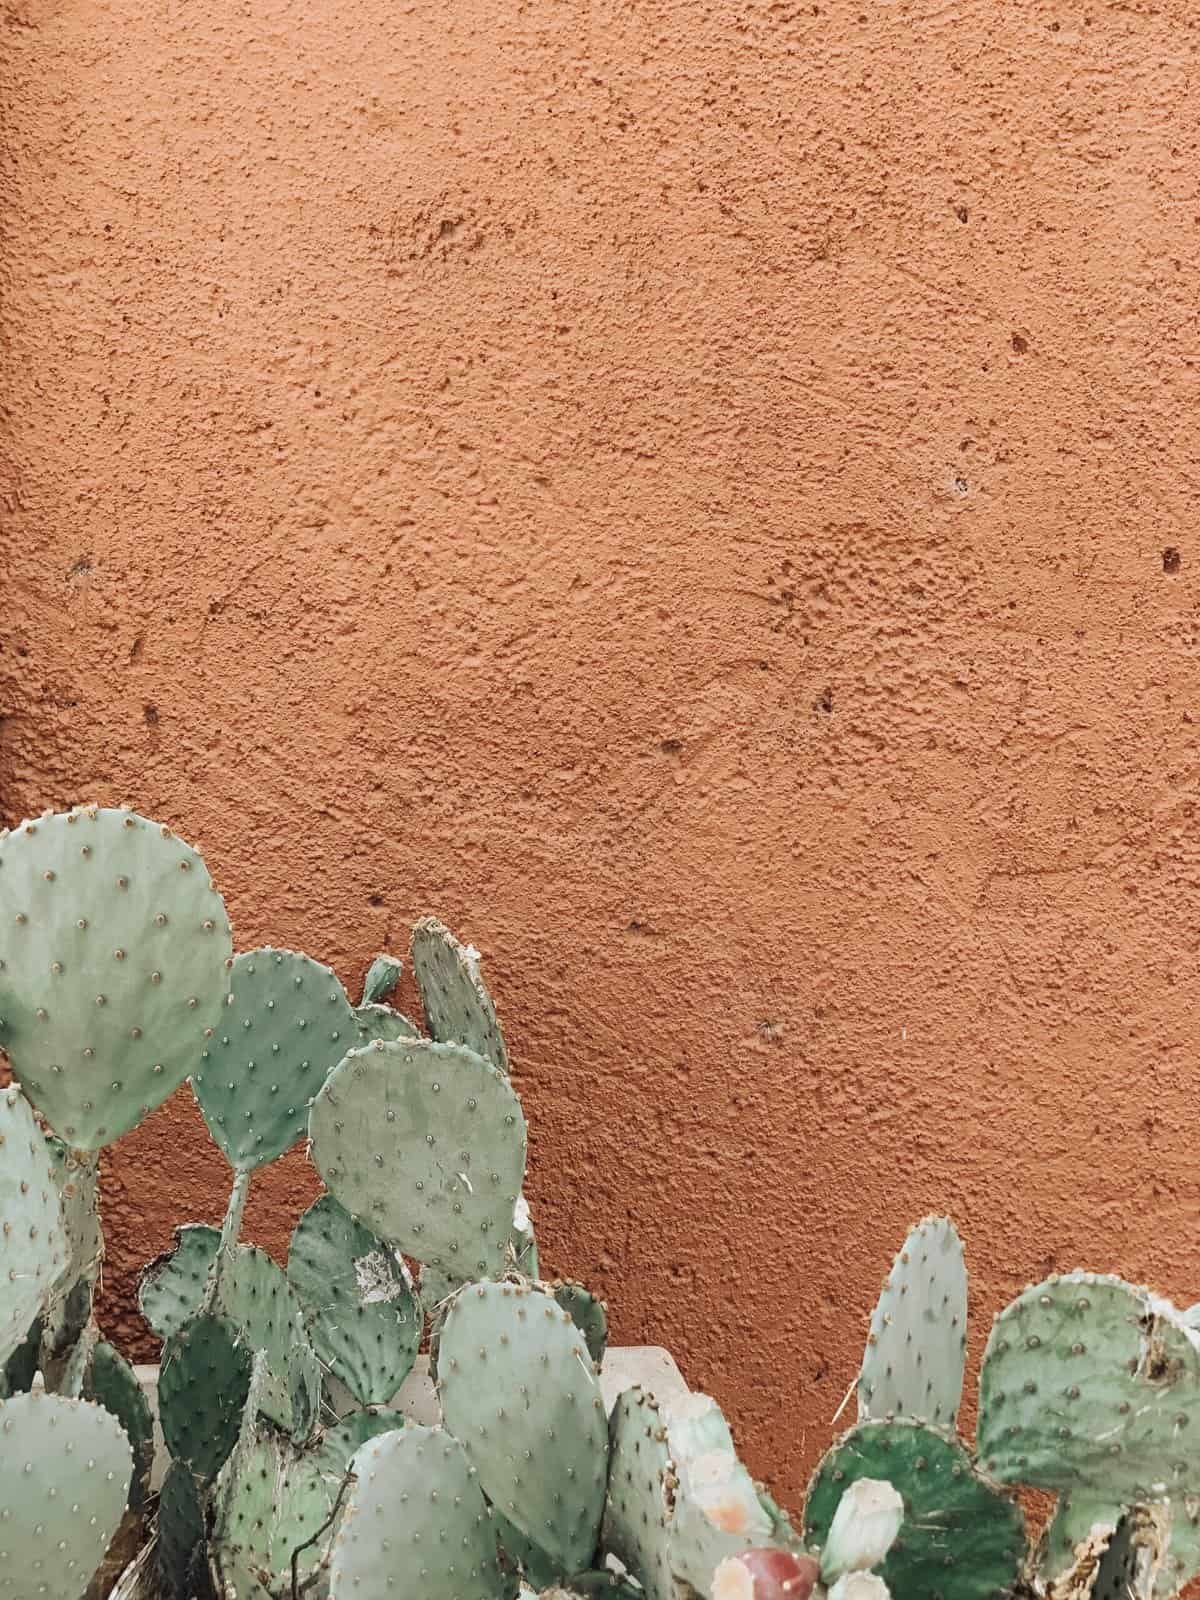
Have you ever wondered how long it takes for a nopal to grow from a pad? Well, the wait is over! In this article, we will explore the fascinating journey of a nopal pad and discover the time it takes for it to transform into a fully-grown cactus. From its humble beginnings to its magnificent growth, get ready to be amazed by the silent beauty of nature’s process. So, let’s embark on this green adventure and uncover the secrets of the nopal’s growth!

Factors Affecting Growth of Nopal from a Pad
Climate
The climate plays a vital role in the growth of a nopal pad. Nopal is native to arid and semi-arid regions, and it thrives in warm and dry climates. It requires lots of sunlight, preferably at least six hours a day. Areas with temperatures ranging between 60°F and 90°F are ideal for nopal growth. Cold temperatures can stunt the growth, while excessive heat may cause the pad to dry out faster.
Soil Conditions
The type and quality of the soil significantly impact the growth of a nopal pad. Nopal prefers well-drained soil with a slightly acidic to neutral pH level. Sandy or loamy soil that allows for proper root aeration and moisture retention is ideal. A soil test can be conducted to determine the pH level and nutrient content of the soil, ensuring optimal growth conditions for the nopal pad.
Watering
Proper watering is crucial for the growth of a nopal pad. While nopal is a drought-tolerant plant, it still requires regular watering, especially during the early stages of growth. The frequency of watering will depend on the climate and moisture retention of the soil. It is important to avoid overwatering, as it can lead to root rot and other fungal diseases. Adequate moisture, balanced with well-drained soil, will promote healthy nopal growth.
Fertilization
Fertilization is another factor that affects the growth of nopal from a pad. Before planting the pad, it is recommended to enrich the soil with organic matter or a slow-release fertilizer. This will provide the necessary nutrients, such as nitrogen, phosphorus, and potassium, for the growth and development of the nopal pad. Regular application of fertilizers during the growing season can help ensure a healthy and fruitful nopal plant.
Choosing a Healthy Nopal Pad for Growth
Selecting the Pad
When choosing a nopal pad for growth, it is important to select one that is healthy and free from diseases or pests. Look for a pad that is free from blemishes, scars, or discoloration. Additionally, select a pad that has spines intact, as damaged spines can indicate poor health. It is advisable to choose a pad that has been fully grown and detached naturally from the parent plant.
Pad Size and Condition
The size and condition of the pad also play a role in its growth potential. Choose a pad that is at least six inches in length, as smaller pads may not have fully developed roots. Additionally, inspect the pad for any signs of rot or damage. Avoid pads that are too soft or too firm, as these may indicate underlying issues. Fresh, firm, and plump pads are more likely to grow successfully.
Pad Thickness
The thickness of the pad is another important consideration when selecting a nopal pad for growth. Look for pads that are thick and fleshy, as these tend to have higher water storage capacity. Thicker pads have a better chance of successfully rooting, establishing, and growing into healthy nopal plants. Avoid thin or shriveled pads, as they may lack the necessary nutrients and may struggle to grow.
Preparing the Pad for Planting
Drying the Cut Pad
After selecting a healthy and suitable nopal pad, it is important to dry the cut end before planting it. This allows the cut surface to callus and form a protective layer, preventing rot and promoting successful root growth. Place the freshly cut end of the pad in a shaded area for a few days until it forms a dry, hardened surface.
Callusing
Callusing is a crucial step in preparing the nopal pad for planting. This process allows the cut surface to heal and develop a protective layer, minimizing the chances of infection or rot. To promote callusing, place the dried pad in a warm, dry location with good air circulation. It typically takes around one to two weeks for the pad to callus completely.
Rooting the Pad
Once the pad has callused, it is ready for rooting. Prepare a well-drained potting mix or soil bed and insert the callused end of the pad. Place the pad horizontally, with the callused end facing upward. Ensure that at least one-third of the pad is buried in the soil. Water the pad lightly, taking care not to overwater. Within a few weeks, roots will start to form, signaling successful rooting.
Planting the Nopal Pad
Planting Depth
When planting the rooted nopal pad, consider the proper planting depth. Bury the pad in the soil up to the callused area, ensuring that most of the pad is in contact with the soil. This allows for better absorption of nutrients and promotes stable growth. Planting the pad too shallow or too deep may hinder its growth and overall development.
Spacing
Proper spacing is essential for the growth and health of nopal plants. Space the planted pads at least four to six feet apart to allow adequate air circulation and sunlight exposure. This prevents overcrowding and reduces the risk of diseases. Sufficient spacing also provides enough room for each nopal plant to spread its spines without interfering with neighboring plants.
Orientation
Ensure that the nopal pad is planted in the correct orientation. The callused end, which has been dried and prepared, should face upward. This allows for proper growth and ensures that the pad can establish roots and absorb moisture from the soil efficiently. Planting the pad in the wrong orientation can impede its growth and make it susceptible to various issues.

Nurturing and Caring for the Nopal Pad
Watering
After planting, it is important to provide regular watering for the nopal pad. Water the plant deeply, ensuring that the soil is evenly moist but not waterlogged. During the hot summer months, water more frequently to prevent dehydration. However, reduce watering during the winter months to avoid excessive moisture retention. Consistent watering helps maintain adequate hydration and supports the growth of the nopal pad.
Mulching
Mulching is beneficial for nopal plants, as it helps retain moisture, suppresses weed growth, and moderates soil temperature. Apply a layer of organic mulch, such as wood chips or straw, around the base of the nopal plant. This will help conserve water and nutrients, creating a favorable environment for growth. However, avoid piling mulch directly against the plant to prevent rot or fungal diseases.
Pruning
Regular pruning is essential for maintaining the health and shape of the nopal plant. Remove any dead or damaged pads to encourage new growth. Additionally, prune excessive growth to improve air circulation and reduce the risk of diseases. Avoid excessive pruning during the growing season, as it can stunt the plant’s growth. Pruning in the dormant season or late winter is generally recommended.
Protecting from Pests and Diseases
Nopal plants can be susceptible to various pests and diseases, including mealybugs, scale insects, and fungal infections. Regularly inspect the plant for any signs of pests or diseases, such as discoloration, wilting, or unusual growth patterns. Use organic insecticides or remedies to control pests, and promptly treat any fungal infections. Maintaining a clean and well-ventilated growing area can help prevent these issues.
Monitoring Nopal Growth
Initial Growth Stage
During the initial growth stage, the nopal pad will focus on establishing roots and acclimating to its new environment. It is normal for the plant to remain relatively dormant during this stage. Monitor the plant for signs of root growth, such as new shoots or increased pad firmness. Adequate watering and a favorable growing environment will support healthy root development during this stage.
Establishment Phase
Once the nopal pad has successfully rooted and established itself, it will begin to show signs of active growth. New pads will start to emerge, and the overall size of the plant will increase. Monitor the plant’s growth rate, ensuring that it is consistent and steady. Healthy nopal plants in the establishment phase should exhibit vigorous growth, with new pads appearing regularly.
Maturation
Maturation is the final stage of nopal growth, where the plant reaches its full size and begins to produce fruit. The duration of this stage can vary depending on environmental factors, such as climate and growing conditions. Monitor the plant for the development of flower buds, which are signs of impending fruit production. Once the nopal pad has reached maturity, it can continue to produce fruit for several years.
Timeline of Nopal Growth
First Week after Planting
During the first week after planting, the nopal pad will focus on rooting and acclimating to its new environment. No significant growth may be observed during this period.
One Month after Planting
After one month, the nopal pad should have established roots and begun active growth. New pads may start to emerge, and the plant may increase in size.
Three Months after Planting
At the three-month mark, the nopal plant should exhibit steady growth and may have produced several new pads. The overall size of the plant should be noticeably larger than when it was initially planted.
One Year after Planting
After one year, the nopal pad should have reached a significant size and may have started producing flowers and fruit. The plant should be well-established and capable of continued growth and fruit production.
Maturity Period
The exact duration of the maturity period can vary depending on the specific variety of nopal and growing conditions. On average, it takes around three to five years for a nopal pad to reach full maturity and consistently produce a significant amount of fruit.
Harvesting Nopal Pads
Timing
Nopal pads can be harvested once they reach a suitable size and are firm to the touch. Harvesting is typically done in the late spring or early summer when the pads are actively growing. Avoid harvesting pads that are too young or immature, as they may not have developed the desired texture and flavor.
Cutting Pads
To harvest a nopal pad, use a sharp knife or pruning shears to cut the pad close to the base, leaving a small stem attached. Take care to avoid damaging neighboring pads or the main plant. Harvested pads can be consumed immediately or stored in the refrigerator for up to a week.
Conclusion
Growing nopal from a pad can be a rewarding and enjoyable experience. By considering factors such as climate, soil conditions, watering, and fertilization, you can create an optimal environment for the nopal pad’s growth. Selecting a healthy pad, properly preparing it for planting, and providing adequate care will ensure successful rooting, establishment, and growth. Regular monitoring and timely harvesting will allow you to enjoy the fruits of your labor while maintaining the health and vigor of your nopal plant. With patience and proper care, your nopal pad will transform into a beautiful plant, providing you with nutritious and delicious nopal pads for years to come.


