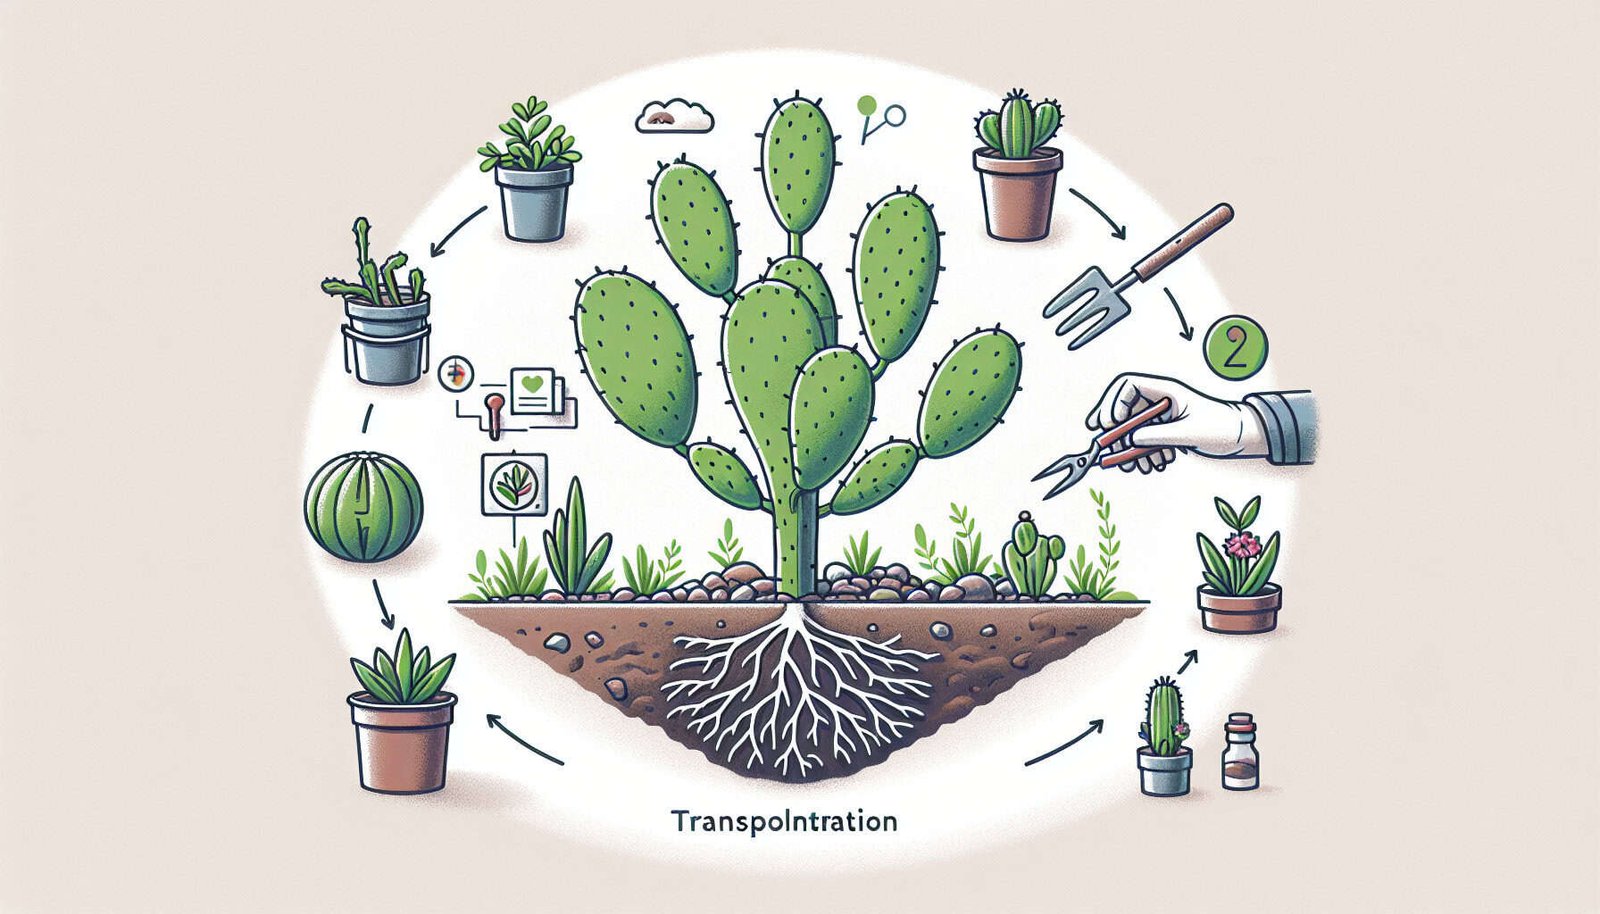
So you’ve got some mature nopal plants that you want to transplant, but you’re not quite sure how to go about it successfully? Don’t worry, I’ve got you covered! Transplanting mature nopal plants can be a bit tricky, but with the right knowledge and technique, you can ensure a smooth and successful transition for your beloved plants. In this article, we’ll explore some helpful tips and guidelines to help you transplant your mature nopal plants with ease and ensure their continued growth and vitality.
Preparing the Nopal Plants for Transplanting
Evaluating the plant’s health
Before transplanting your mature nopal plants, it is essential to evaluate their health. Look for signs of diseases, pests, or nutrient deficiencies. Ensure that the plants are free from any symptoms of wilting, discoloration, or stunted growth. Healthy plants have vibrant green pads and show no signs of distress. By starting with healthy plants, you increase their chances of successful transplantation.
Choosing the right time for transplanting
Timing is crucial when it comes to transplanting nopal plants. The best time for transplanting is during the early spring when the weather is mild and there is less risk of extreme temperatures or frost. Transplanting during this season allows the plants to establish their roots and adapt to the new environment before facing the challenges of the hot summer months.
Preparing the new location
Before digging up your nopal plants, it is important to prepare the new location where they will be transplanted. Choose a spot with adequate sunlight and well-draining soil. Nopal plants thrive in full sun, so ensure that the new location receives at least six hours of direct sunlight each day. Prepare the soil by loosening it with a garden fork or tiller, removing any weeds or debris, and adding organic matter such as compost or aged manure.
Gathering the necessary tools and materials
To successfully transplant your mature nopal plants, you will need a few essential tools and materials. Gather a sharp spade or shovel for digging, a wheelbarrow or bucket for transporting the plants, gardening gloves for protection, and a hose or watering can for watering the transplanted plants. Additionally, consider having mulch on hand to provide a protective layer around the base of the plants once they are transplanted.
Digging Up the Mature Nopal Plants
Selecting appropriate digging techniques
When digging up your mature nopal plants, it is important to use appropriate techniques to minimize damage to the plant’s roots. Start by making a circular trench around the base of the plant, ensuring that you dig wide enough to encompass the entire root system. As you dig, angle your shovel or spade to avoid cutting into the roots and causing unnecessary damage.
Creating a wide root ball
To ensure successful transplantation, it is crucial to create a wide root ball when digging up your nopal plants. The root ball is the mass of soil and roots that will be transplanted along with the plant. By making the root ball as wide as possible, you provide the plant with a larger nutrient reservoir, increasing its chances of survival and growth in the new location.
Carefully extracting the plant from the ground
Once you have dug around the plant and created a wide root ball, it is time to carefully extract the nopal from the ground. Gently lift the plant, supporting the root ball to avoid any breakage or disturbance. Be cautious not to put excessive pressure on the plant’s stems or pads as you lift it out of the hole.
Minimizing damage to the plant’s roots
While extracting the nopal plant from the ground, it is crucial to minimize damage to its roots. Healthy roots are essential for the plant’s survival and successful establishment in the new location. Handle the plant with care and avoid pulling or tearing any roots. If necessary, trim any damaged or broken roots before transplanting the plant.

Transplanting the Nopal Plants into a New Location
Creating a suitable hole for the plant
When transplanting your nopal plants into the new location, it is important to create a suitable hole to accommodate the root ball. The hole should be deep enough to allow the entire root system to fit comfortably without bending or crowding. Ensure that the hole is wider than the root ball to allow space for the soil to be backfilled.
Amending the soil for optimal growth
Before placing the nopal plant into the hole, it is beneficial to amend the soil for optimal growth. Mix some organic matter, such as compost or aged manure, into the soil to improve its fertility and structure. This addition will provide the plant with essential nutrients and promote healthy root development.
Placing the nopal into the hole
Once the hole is prepared and the soil is amended, carefully lower the nopal plant into the hole. Ensure that the plant is centered and upright, with its roots fully submerged in the hole. Gently adjust the plant’s position, making sure that it is at the same depth as it was in the original location.
Backfilling the hole and firming the soil
After placing the nopal plant into the hole, begin backfilling the hole with the soil that was previously removed. Take care to fill in any gaps around the root ball, ensuring that the soil is evenly distributed. As you backfill, gently firm the soil around the plant using your hands or a garden tool. This step helps eliminate air pockets and provides stability to the newly transplanted nopal.
Providing Adequate Care After Transplanting
Watering the nopal plant thoroughly
Immediately after transplanting, it is crucial to water the nopal plant thoroughly. Water deeply to ensure that the entire root ball is moistened. This initial watering helps settle the soil and encourages root growth. In the following weeks, continue to water the newly transplanted plant regularly, ensuring that the soil remains consistently moist but not waterlogged.
Applying mulch around the base of the plant
After watering, it is beneficial to apply a layer of mulch around the base of the nopal plant. Mulch helps conserve moisture, suppresses weed growth, and regulates soil temperature. Apply a layer of organic mulch, such as wood chips or straw, around the plant, leaving a gap around the stem to prevent moisture accumulation that can lead to rot.
Protecting the plant from extreme weather conditions
In the weeks following transplantation, it is important to protect the nopal plant from extreme weather conditions. If there are predictions of frost, high winds, or intense heat, consider providing temporary shade or protection to minimize stress on the newly transplanted plant. You can use shade cloth, row covers, or even an umbrella to shield the plant from these conditions.
Monitoring the plant for signs of stress or complications
Keep a close eye on the transplanted nopal plant for any signs of stress or complications. Look for wilting, discoloration, or stunted growth, which may indicate that the plant is not adjusting well to its new environment. Promptly address any issues by adjusting watering, providing additional support, or consulting with a knowledgeable gardener or horticulturist if necessary.

Maintaining the Transplanted Nopal Plants
Establishing a watering schedule
After the initial care and establishment period, it is important to establish a watering schedule for your transplanted nopal plants. Water deeply and infrequently, ensuring that the soil is moist but not waterlogged. As the plants mature and roots establish, adjust the watering frequency according to the prevailing weather conditions and the specific needs of the nopal variety.
Providing necessary nutrients and fertilizers
To ensure optimal growth and health, provide your transplanted nopal plants with necessary nutrients. Fertilize the plants with a balanced fertilizer, following the recommended application rates. Avoid over-fertilizing, as excessive nutrients can lead to burn or other complications. Regularly monitor the plants’ nutrient levels and adjust fertilization accordingly.
Controlling pests and diseases
Even after transplanting, nopal plants can face pest and disease challenges. Monitor the plants regularly for signs of pests, such as mealybugs or aphids, and take appropriate measures to control them. Use organic or targeted insecticides and follow the instructions carefully. Additionally, practice good gardening practices to minimize disease risks, such as ensuring proper air circulation and sanitation.
Pruning and shaping the plant if desired
If you wish to shape or prune your transplanted nopal plants, do so with caution. Pruning can be carried out to remove damaged or diseased pads, promote bushier growth, or maintain a desired shape. Use clean and sharp pruning tools, making clean cuts close to the base of the pad or stem. Avoid excessive pruning, as this can stress the plant and hinder its growth.
Common Challenges and Troubleshooting
Dealing with transplant shock
Transplant shock is a common challenge when moving mature nopal plants. It is characterized by wilting, leaf drop, or slowed growth. To alleviate transplant shock, ensure that the plants receive adequate water, monitor their exposure to sunlight, and avoid excessive disturbance. If the plants show signs of transplant shock, be patient and provide the necessary care until they recover.
Addressing root damage or breakage
During the transplanting process, some root damage or breakage may occur. If this happens, carefully trim any damaged or broken roots before transplanting the nopal plants. Ensure that the remaining healthy roots are positioned properly in the new hole, providing them with ample space and soil contact for regrowth.
Coping with poor growth or yellowing
If your transplanted nopal plants show signs of poor growth or yellowing, it may indicate nutrient deficiencies, overwatering, or insufficient sunlight. Assess the plant’s growing conditions and make any necessary adjustments. Consider testing the soil’s pH and nutrient levels, and address any imbalances with appropriate fertilizers or soil amendments.
Managing pests and diseases
Pests and diseases can pose challenges to the health of your transplanted nopal plants. Regularly inspect the plants for pests, such as scale insects or fungal diseases. Address pest and disease issues promptly using organic or targeted treatments. Remember to consider the plant’s growing conditions and promote overall plant health to minimize pest and disease susceptibility.

Tips and Best Practices
Choose healthy and well-established plants
When selecting nopal plants for transplanting, choose healthy and well-established specimens. Look for plants with vibrant green pads, firm stems, and no signs of diseases or pests. Healthy plants have a better chance of surviving the transplanting process and thriving in their new location.
Avoid transplanting during extreme weather conditions
Transplanting nopal plants during extreme weather conditions, such as during heatwaves or cold snaps, can increase stress on the plants and reduce their chances of success. Aim to transplant during mild weather, preferably in the early spring, to provide the plants with optimal conditions for establishment.
Do not overwater the nopal plants after transplanting
While it is essential to provide adequate water to your transplanted nopal plants, it is equally important not to overwater them. Overwatering can lead to root rot and other issues. Follow a watering schedule, ensuring that the soil is kept evenly moist but not waterlogged. Adjust the frequency of watering according to the specific needs of your nopal plants.
Consider providing shade or protection during the initial weeks
To help your transplanted nopal plants acclimate to their new environment, consider providing temporary shade or protection during the initial weeks. This can be done using shade cloth, row covers, or even makeshift structures like umbrellas. Providing shade helps reduce stress and prevents excessive moisture loss through evaporation, promoting successful establishment.
Conclusion
Transplanting mature nopal plants requires careful planning and execution to ensure their successful establishment in a new location. By evaluating their health, choosing the right time for transplanting, and preparing the new location, you set the stage for a smooth transition. Digging up the plants with appropriate techniques, creating a wide root ball, and minimizing root damage are critical steps in ensuring their survival. Transplanting nopal plants into a new location involves creating a suitable hole, amending the soil, and backfilling carefully. Adequate care after transplanting includes thorough watering, applying mulch, protecting from extreme weather, and monitoring for complications. Maintaining the transplanted plants involves establishing a watering schedule, providing nutrients, managing pests and diseases, and pruning if desired. Understanding common challenges and troubleshooting methods helps address transplant shock, root damage, poor growth, and pest or disease issues. Following tips and best practices, such as choosing healthy plants, avoiding extreme weather, moderating watering, and considering shade, can increase the success of your nopal plant transplanting endeavors. With proper care and attention, your transplanted nopal plants will thrive and bring beauty and resilience to their new home.


