Are you eager to expand your collection of nopal plants but unsure of how to successfully transplant them to a larger pot or garden? Look no further! In this article, we will guide you through the process of safely and effectively transplanting your beloved nopal plants, ensuring their healthy growth and continued vibrancy. Whether you’re a seasoned gardener or a beginner with a green thumb, our friendly and informative tips will set you on the path to nopal success.

Preparation
Before transplanting your nopal plant to a larger pot or garden bed, there are a few steps you need to take to ensure a successful transplant. Gathering necessary materials, choosing the right time, and preparing the new pot or garden bed are all crucial aspects of this process.
Gather necessary materials
To transplant your nopal, you will need a few essential materials. These include a larger pot or garden bed, suitable soil, gardening gloves, a watering can, and optionally, mulch for post-transplant care.
Choose the right time
Timing is important when it comes to transplanting nopal. The best time to do so is during the spring or fall when the temperatures are mild. Avoid transplanting during extreme weather conditions or during the scorching summer months. Transplanting during the right season will give your nopal plant the best chance of thriving in its new home.
Prepare the new pot or garden bed
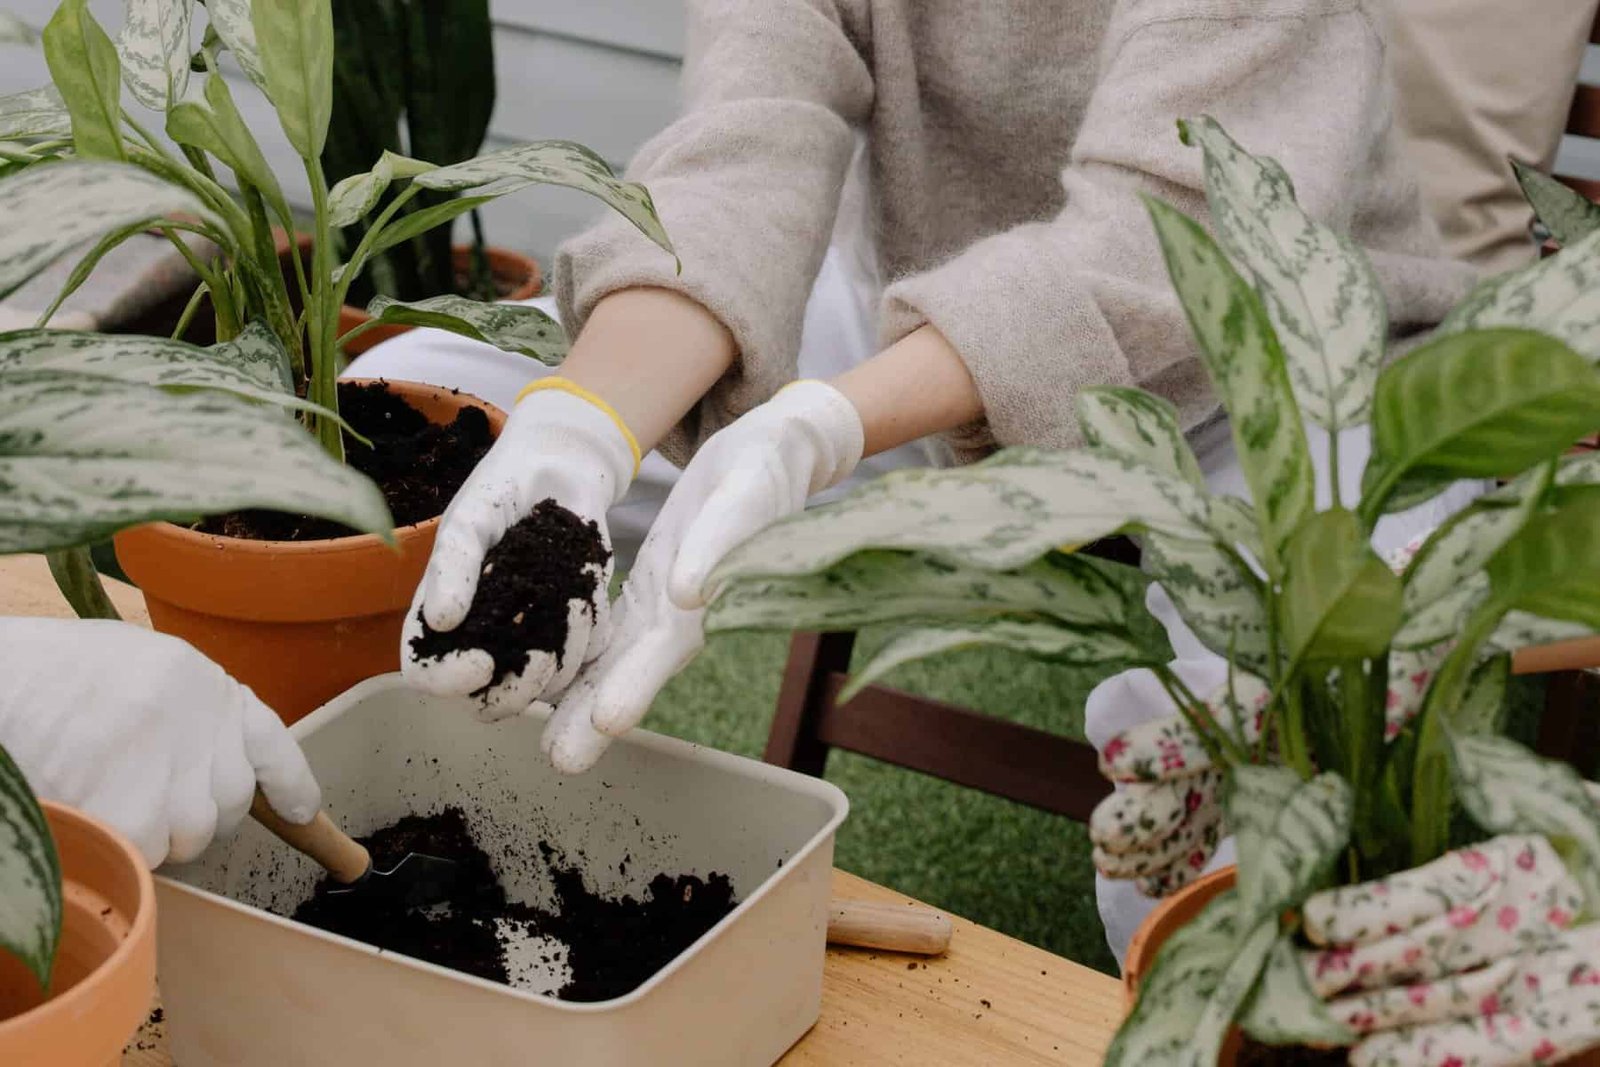
Before transplanting your nopal, make sure the new pot or garden bed is ready. Choose a suitable location that receives adequate sunlight for your nopal’s needs. Prepare the soil by loosening it and removing any weeds or debris. If the soil is poor in quality, you may need to amend it with compost or organic matter to provide the nopal with the necessary nutrients.
Removing the Nopal
Now that you have prepared the necessary materials and the new pot or garden bed, it’s time to remove the nopal from its current pot or location.
Water the plant well
Watering the nopal thoroughly before transplanting will help to ensure the soil is well-hydrated and easier to work with. This will reduce the chances of root damage during the removal process.
Loosen the soil around the plant
Gently loosen the soil around the nopal plant using a fork or trowel. Be careful not to damage the roots while doing so. Loosening the soil will make it easier to lift the plant out of its current location.
Remove the plant carefully
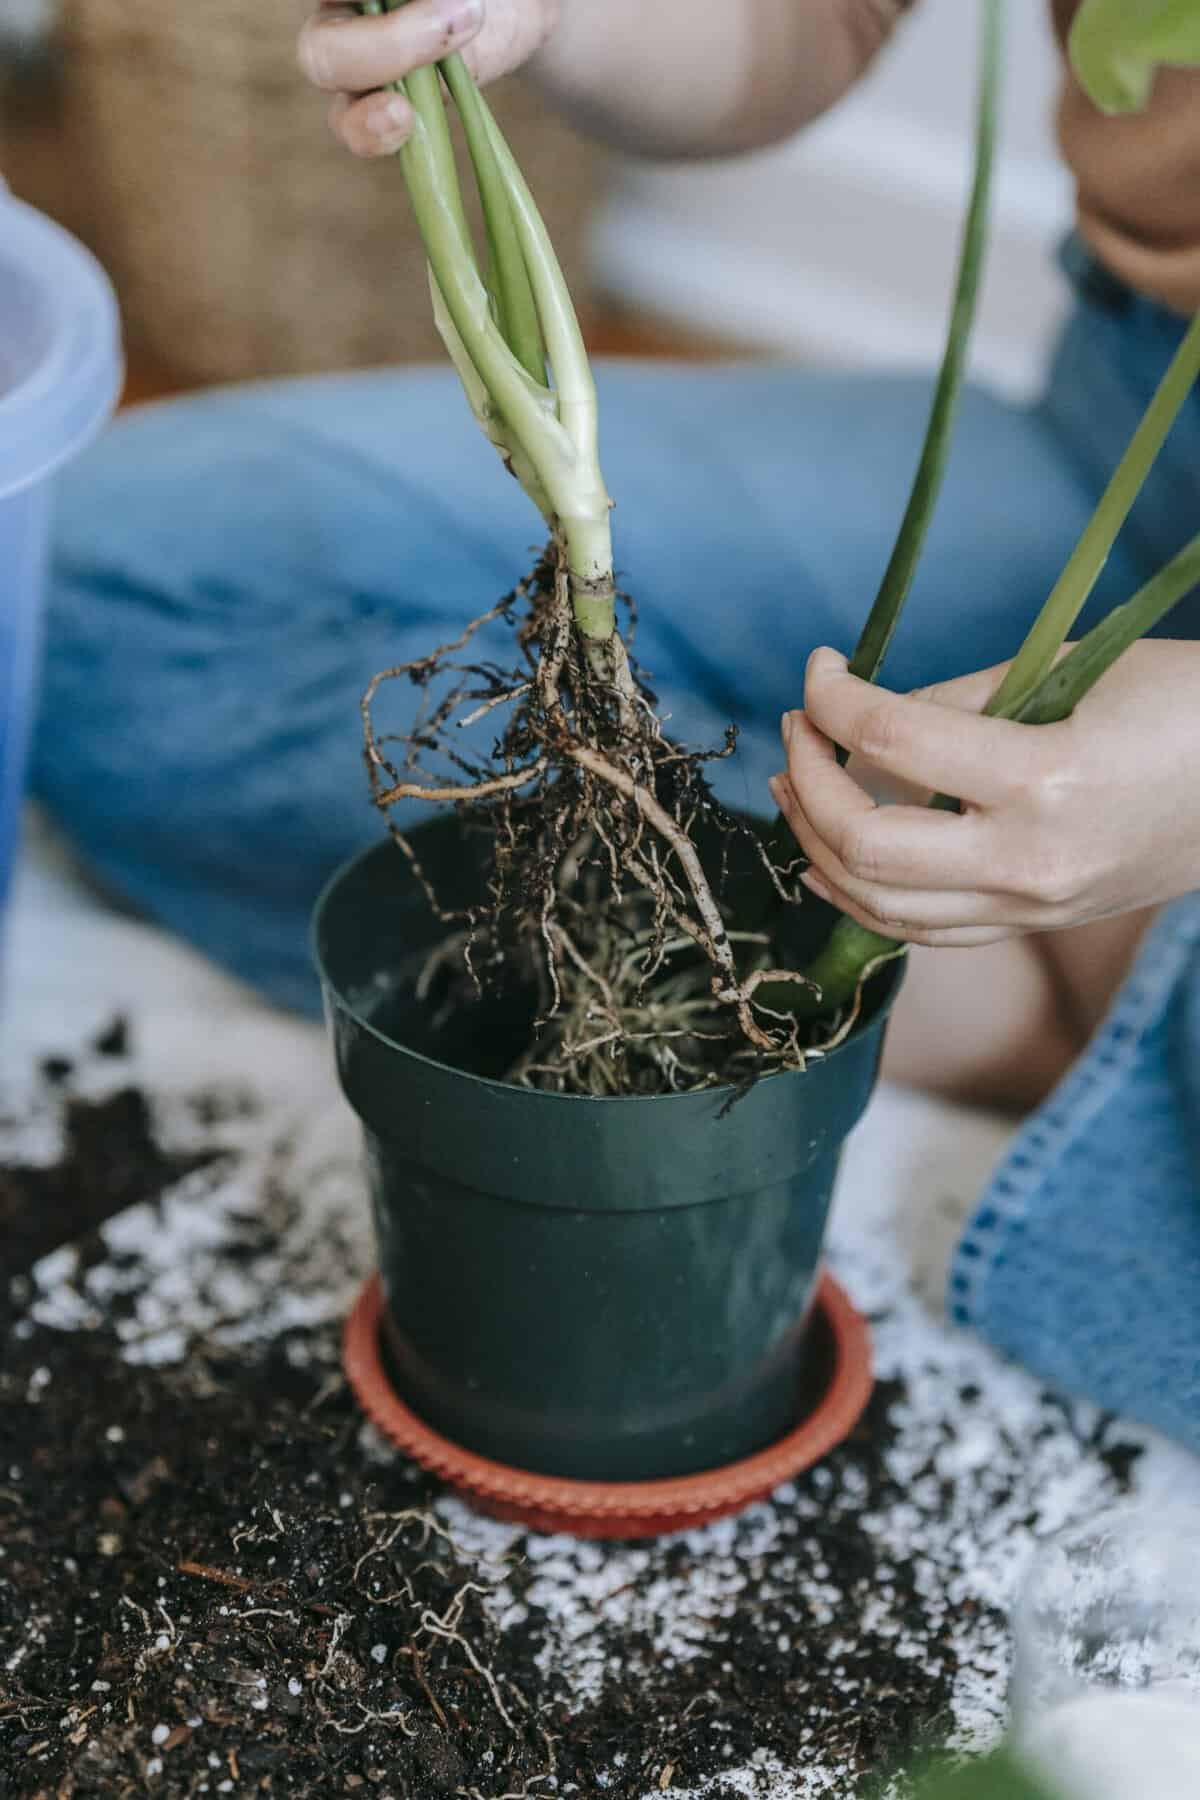
Once the soil is loosened, carefully lift the nopal plant, supporting the base and avoiding pulling on the stems or roots. Place the plant on a clean surface or in a temporary container while you prepare the new pot or garden bed.
Preparing the New Pot or Garden Bed
Preparing the new pot or garden bed properly is crucial for the successful transplant of your nopal plant.
Choose a suitable location
Select a location that meets the sunlight requirements of your nopal. Whether you choose a pot or a garden bed, make sure it is placed in an area that receives adequate sunlight throughout the day. Nopal prefers full sun exposure to thrive.
Prepare the soil
Before placing the nopal in its new home, prepare the soil in the pot or garden bed. Remove any weeds or debris and ensure the soil is well-draining. Nopal prefers sandy or loamy soil that allows for proper root growth.
Amend the soil if needed
If the soil in your new pot or garden bed is lacking in nutrients, you may need to amend it. Adding compost or organic matter to the soil will help provide the necessary nutrients for your nopal plant to thrive. Mix the amendments well with the existing soil to create a nutrient-rich environment for your plant.
Transplanting the Nopal
Now that you have prepared the new pot or garden bed, it’s time to transplant your nopal plant.
Create a hole in the new pot or garden bed
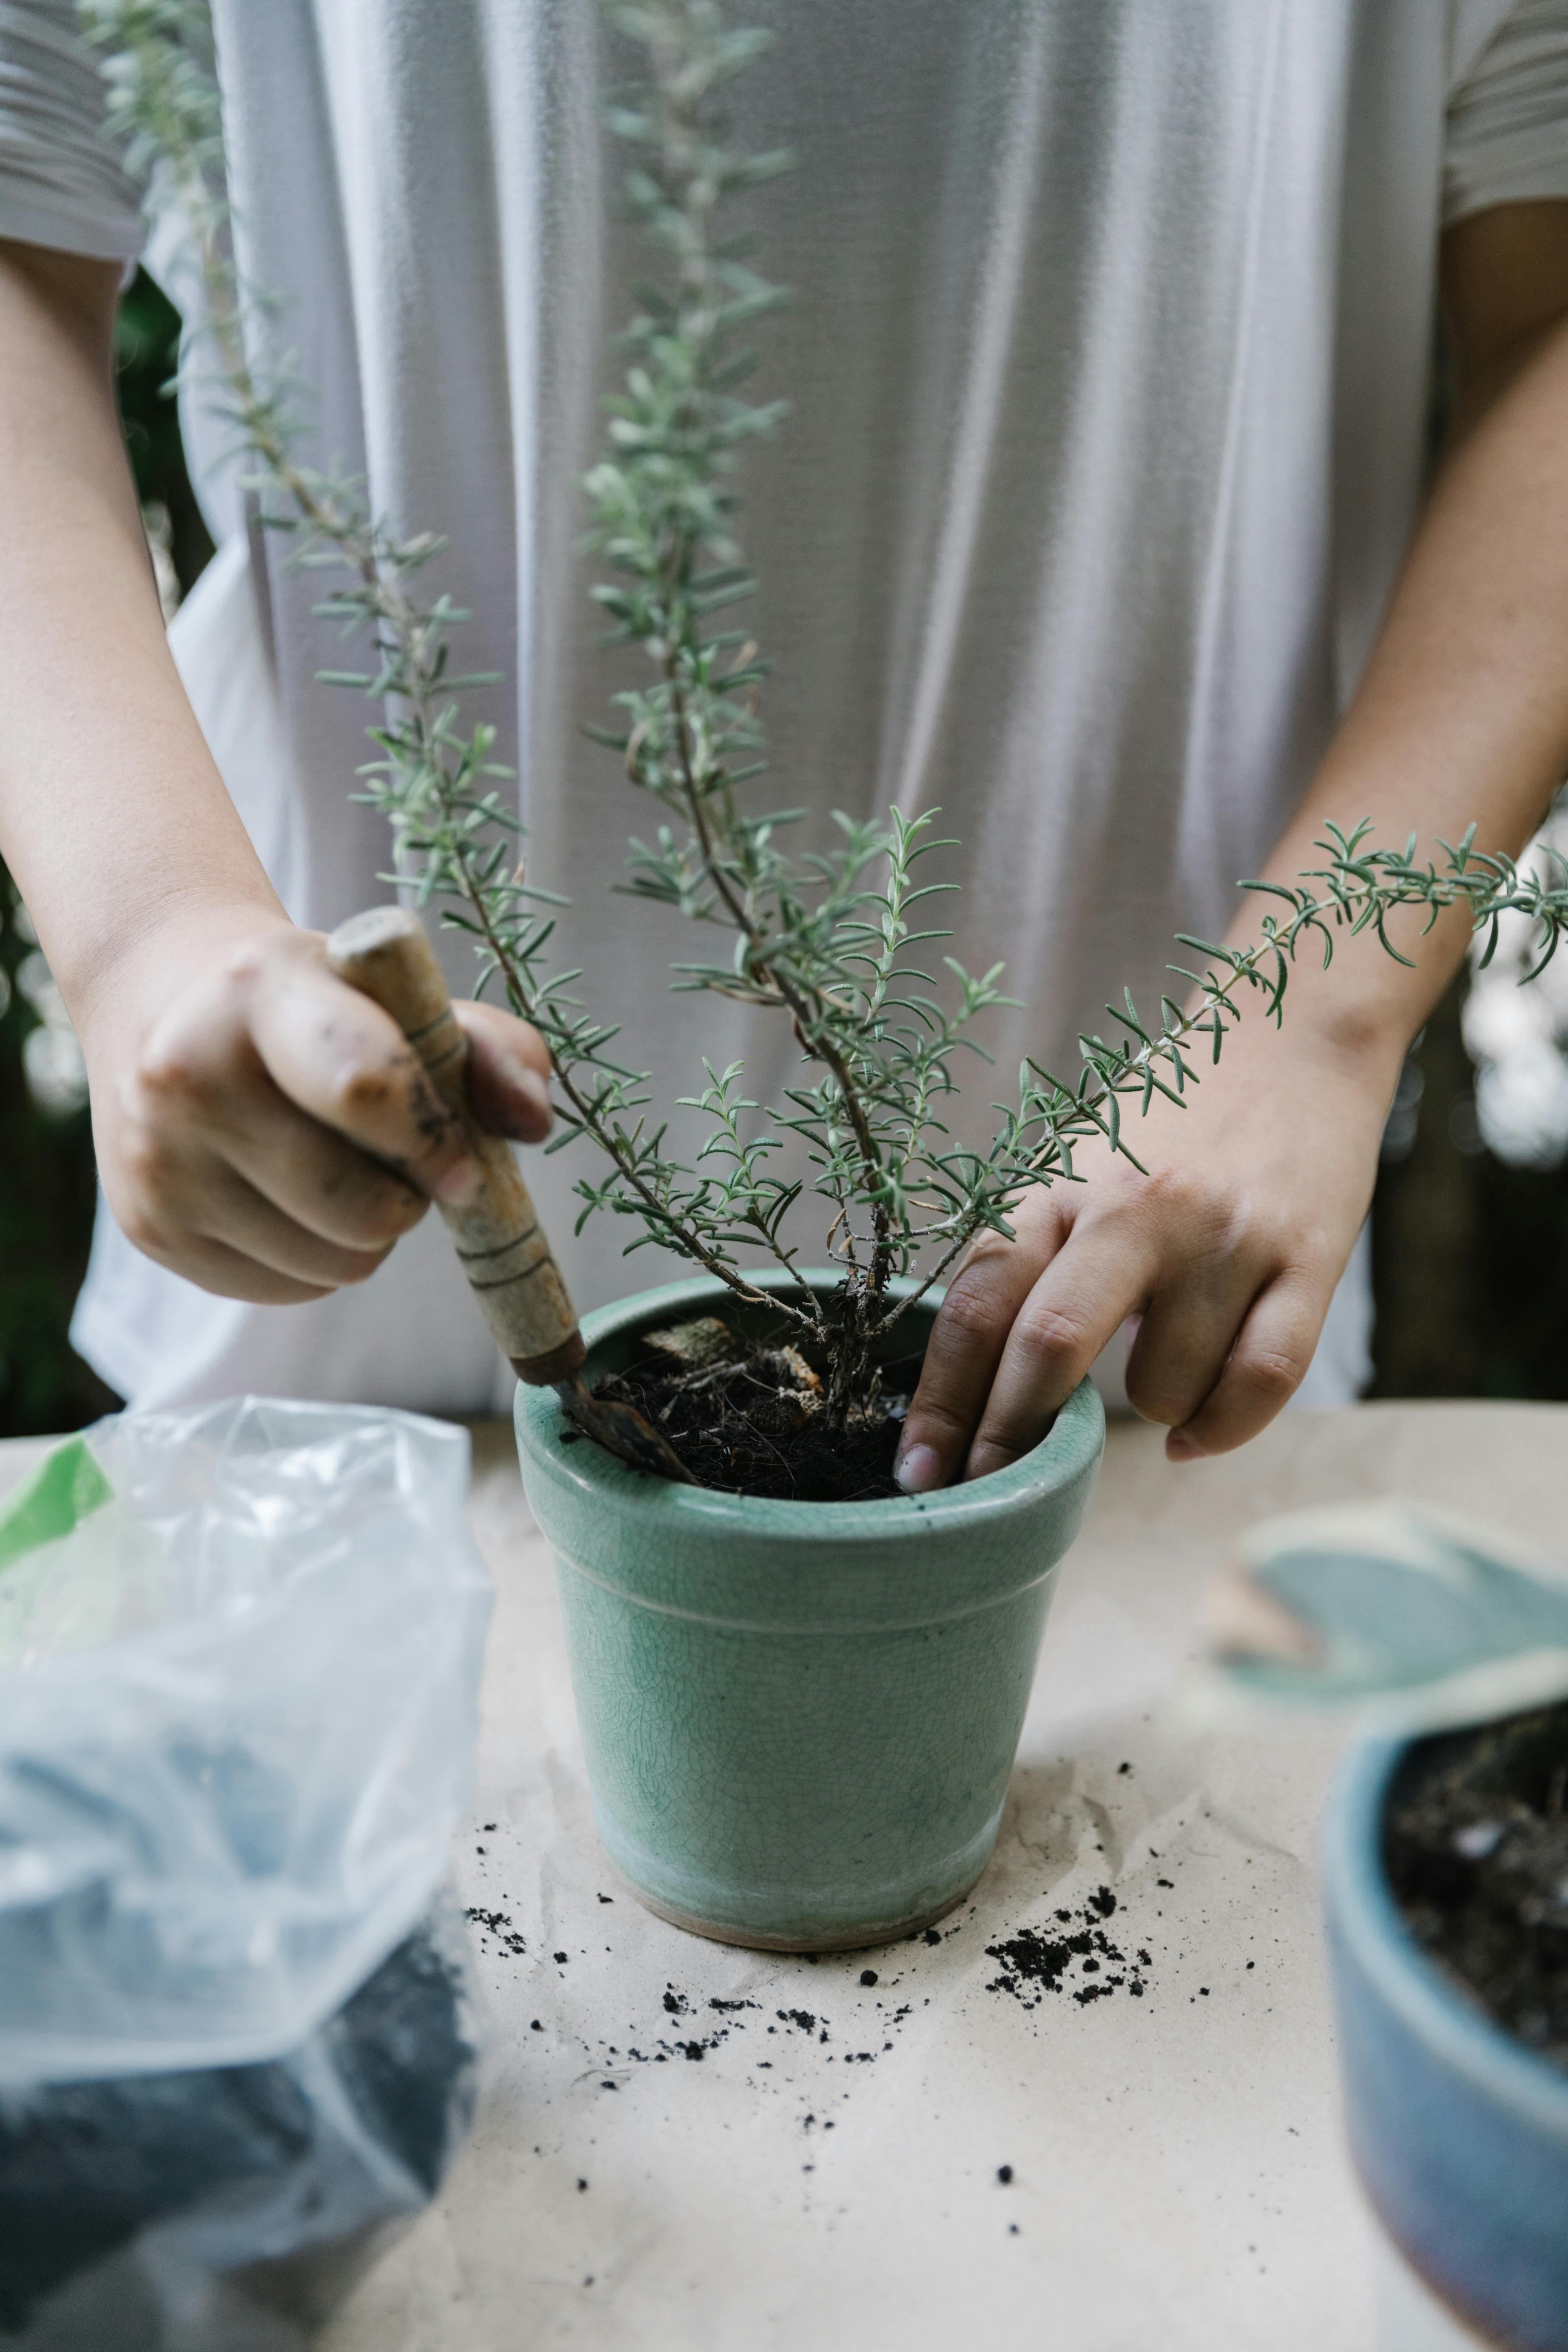
Using a garden trowel or your hands, create a hole in the soil that is large enough to accommodate the roots of the nopal plant. The hole should be deep enough to allow the plant to sit at the same level it was in its previous location.
Place the nopal in the hole
Gently lower the nopal plant into the hole, ensuring that the roots are spread out and not cramped. Position the plant in the center of the hole, with the stems facing upwards. Adjust the depth of the hole if needed to ensure the plant is at the proper level.
Fill the hole with soil
Once the nopal is correctly positioned in the hole, begin filling it with soil. Be gentle and firm the soil around the plant to provide support. Avoid compacting the soil too tightly, as this can hinder root growth. Ensure that the soil is evenly distributed and covers the roots completely.

Post-Transplant Care
After transplanting your nopal, it’s crucial to provide the correct care to promote its healthy growth and establishment in its new home.
Water the nopal
Water the nopal thoroughly immediately after transplanting to help settle the soil around the roots and remove any air pockets. In the following weeks, keep the soil evenly moist but not overly saturated. Nopal plants prefer well-drained soil, so ensure any excess water can freely drain away.
Add mulch
Mulching around the base of the nopal plant can help retain moisture in the soil and suppress weed growth. Apply a layer of organic mulch, such as wood chips or straw, around the base of the plant, being careful not to bury the stems. Mulch will also help to regulate soil temperature, protecting the roots from extreme heat or cold.
Protect from extreme temperatures
Nopal plants are generally resilient, but they can be sensitive to extreme temperatures. During hot summer days, provide some shade to prevent the plant from experiencing excessive heat. In colder regions, consider using frost blankets or bringing potted nopals indoors during freezing temperatures to protect them from frost damage. Keeping them in a sheltered spot can also provide some protection.
Maintaining the Transplanted Nopal
To ensure the continued health and growth of your transplanted nopal, there are a few key maintenance practices to keep in mind.
Monitor water needs
Regularly check the moisture levels of the soil and adjust your watering schedule accordingly. It’s important not to overwater or underwater the nopal. Aim for a balance that allows the soil to dry slightly between watering sessions. Adjust watering frequency based on weather conditions, as hotter and drier climates may require more frequent watering.
Provide adequate sunlight
Nopal plants need plenty of sunlight to thrive. Ensure that they receive at least six hours of direct sunlight each day. If your nopal is in a pot, you can move it to different locations to ensure it gets the optimal amount of sunlight. However, avoid sudden changes in light exposure, as this can stress the plant.
Fertilize as needed
To promote healthy growth and ensure your nopal receives essential nutrients, fertilize the plant as needed. Use a balanced, slow-release fertilizer specifically formulated for cacti or succulents. Follow the manufacturer’s instructions for application rates and frequency. Be careful not to over-fertilize, as this can lead to nutrient burn or other adverse effects.

Common Transplanting Issues
Despite your best efforts, transplanting nopal can sometimes come with certain challenges. Here are a few common issues to be aware of:
Root damage
During the transplanting process, the nopal’s roots can be susceptible to damage. Be gentle when handling the plant and avoid excessive pulling or tugging. By keeping the soil well-watered and loosening it before transplanting, you can minimize the risk of root damage.
Transplant shock
When moving a nopal plant to a new pot or garden bed, it may go through a period of transplant shock. This is common and can manifest as wilting, yellowing leaves, or stunted growth. Ensure the plant receives proper care, including adequate water, sunlight, and protection from extreme temperatures. With time, the nopal will recover and begin to thrive in its new environment.
Pest infestation
Transplanting nopal plants can sometimes invite pests such as mealybugs or scale insects. Keep a close eye on your plant for any signs of pest infestation, such as cottony white masses or sticky residue. If detected, treat the plant with an appropriate insecticide or use organic methods to control the pests.
Tips and Considerations
To make the transplanting process smoother and ensure the long-term success of your nopal, keep the following tips and considerations in mind:
Handling spines and prickles
Nopal plants are covered in spines and prickles, so it’s essential to handle them with care. Wear thick gardening gloves and use long-handled tools when working with the plants to avoid injury.
Determine the right pot size
When selecting a larger pot for your nopal, choose one that allows for the plant to grow comfortably. Avoid pots that are too large, as excessive soil can retain too much moisture, leading to root rot. A pot that is just slightly larger than the current one will provide enough room for growth while maintaining a balanced soil moisture level.
Consider companion plants
Nopal plants can benefit from companion plants that provide shade, attract pollinators, or deter pests. Consider planting companion plants such as lavender, rosemary, or other drought-tolerant species that can thrive alongside your nopal and create a harmonious garden setting.
Frequently Asked Questions
Here are some frequently asked questions about transplanting nopal and their answers:
When is the best time to transplant nopal?
The best time to transplant nopal is during the spring or fall when temperatures are milder. Avoid transplanting during extreme weather conditions or in the scorching summer heat.
How often should I water the transplanted nopal?
Water your transplanted nopal thoroughly immediately after transplanting to settle the soil. Afterward, water it when the top inch of the soil feels dry. Adjust the frequency based on weather conditions and the moisture needs of your plant.
Can I propagate nopal from cuttings?
Yes, nopal can be propagated from cuttings. Take a healthy, mature stem section and let it dry and callous for a few days. Plant the cutting in well-draining soil and keep it slightly moist until roots develop.
Conclusion
Congratulations on successfully transplanting your nopal plant to a larger pot or garden bed! With proper preparation, care, and maintenance, your nopal will thrive in its new home. Enjoy watching it grow and share your knowledge and experience with others who may be considering a similar transplanting process. Happy gardening!

